What It Costs
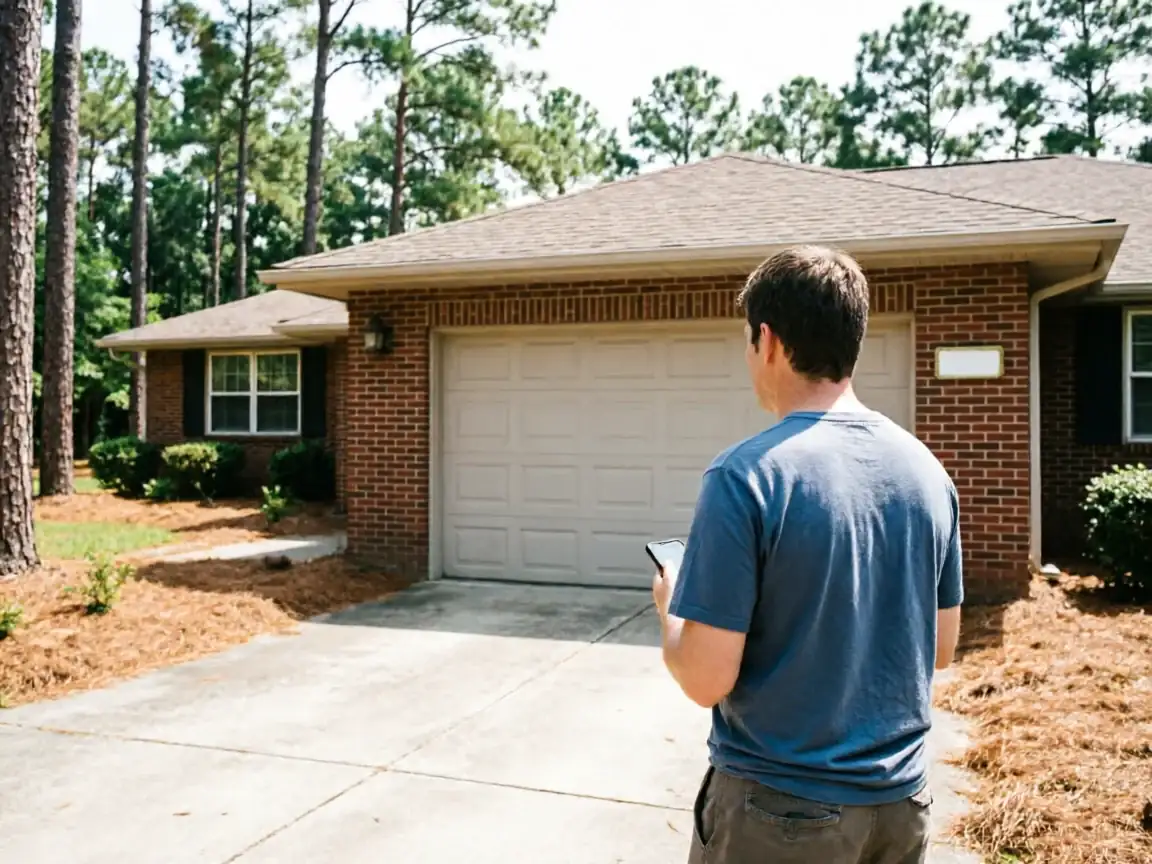
A lot of garage doors in Pumpkin Center are still running whatever opener the builder hung back around 1980
That puts this area at the front edge of the window we see across the wider service territory, where homes mostly went up between 1980 and 2013 with a median build year of 1993. A chain-drive unit from 1980 has usually been through a couple of remotes, maybe a drive gear, but the motor housing, rail, and wiring are often original. That's the part nobody budgets for until it won't lift the door on a cold morning.
What an install actually costs depends on what's already there
Whether we're bolting a new unit to an existing rail and header bracket, or replacing bent or rusted hardware that came with the house. Income across this service area runs a median of $65,179, and Pumpkin Center itself sits a bit lower, close to $62,684, so we see a real mix of people replacing a dead unit with the same tier versus stepping up to a quieter belt-drive with battery backup. We don't publish a flat number here because the header condition and existing wiring change the job more than the opener brand does.
Parts We Carry
The truck that comes out to Pumpkin Center carries the same stock it carries anywhere else in the service area: chain and belt-drive openers, rail kits in a couple of lengths, safety sensor pairs, wall consoles, and remotes. Where Pumpkin Center jobs differ is what we pull off the door, not what we put on it. Houses from 1980 often have a header bracket and j-arm that were never sized for a belt-drive's lighter rail, so a chunk of these installs include a bracket swap most newer-home jobs skip entirely.
We carry standard sensor brackets and wiring runs, but we don't carry every proprietary smart-hub bridge on the market, and if a homeowner wants a specific home automation ecosystem tied into the opener, that's worth asking about before we schedule, not after the truck is loaded. On older one-piece or early sectional doors, we also check the track width before the appointment, since some of what's original from that build era runs a narrower track than current opener rail kits expect.
How to Book
Pumpkin Center sits about four miles from Jacksonville, so getting a truck out here isn't a special trip, it's a short one. The easiest way to start is to tell us what's happening with the current opener - dead motor, grinding gear, a remote that stopped working years ago - and whether the door itself has had any work done. If the opener trouble is tangled up with a door that's binding, off its rollers, or dragging on one side, our repair page covers that side of things: Pumpkin Center garage door repair.
If you're comparing opener models and want the fuller rundown on drive types, horsepower, and battery backup options before deciding, that detail lives on our main installation page for the service area: garage door opener installation in Jacksonville, NC. Once we know the door type, the opener you want, and whether the header hardware is original, we can give you a window instead of a guess.
What the Repair Takes
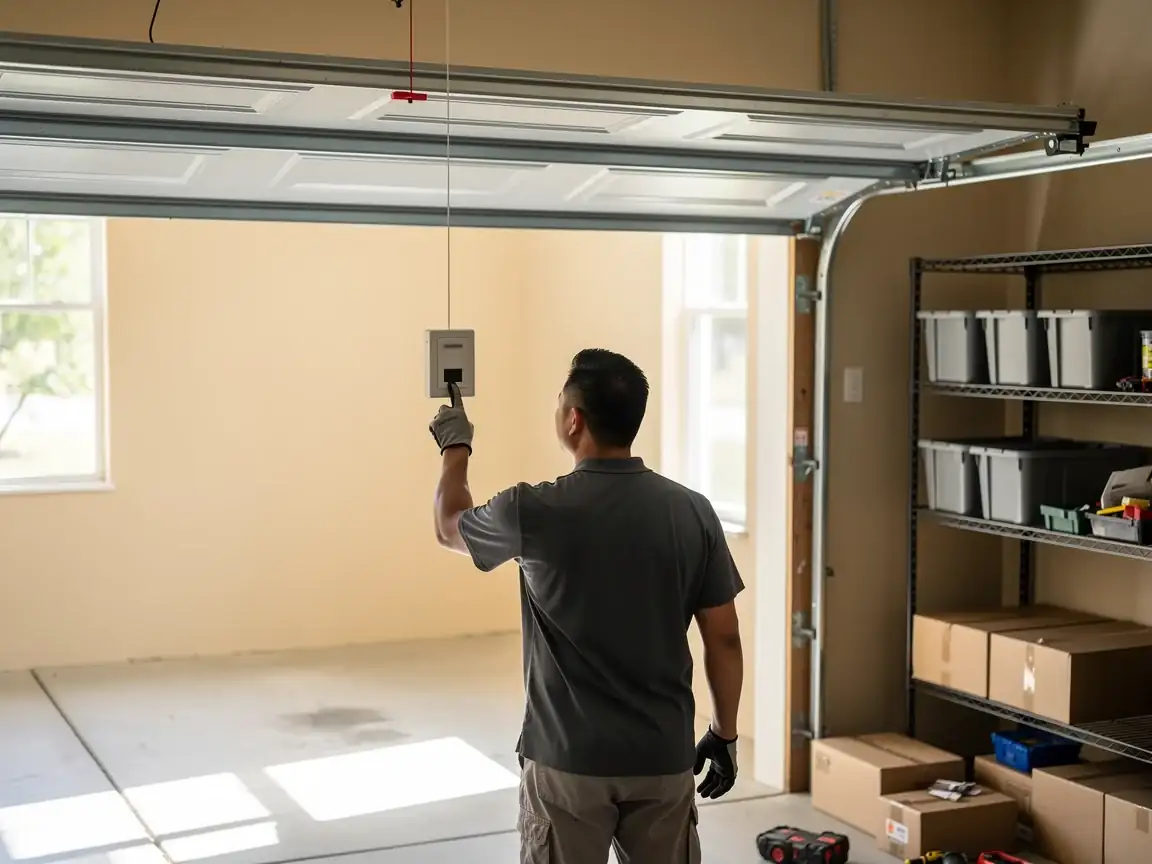
Swapping a dead opener for a new one on an existing rail
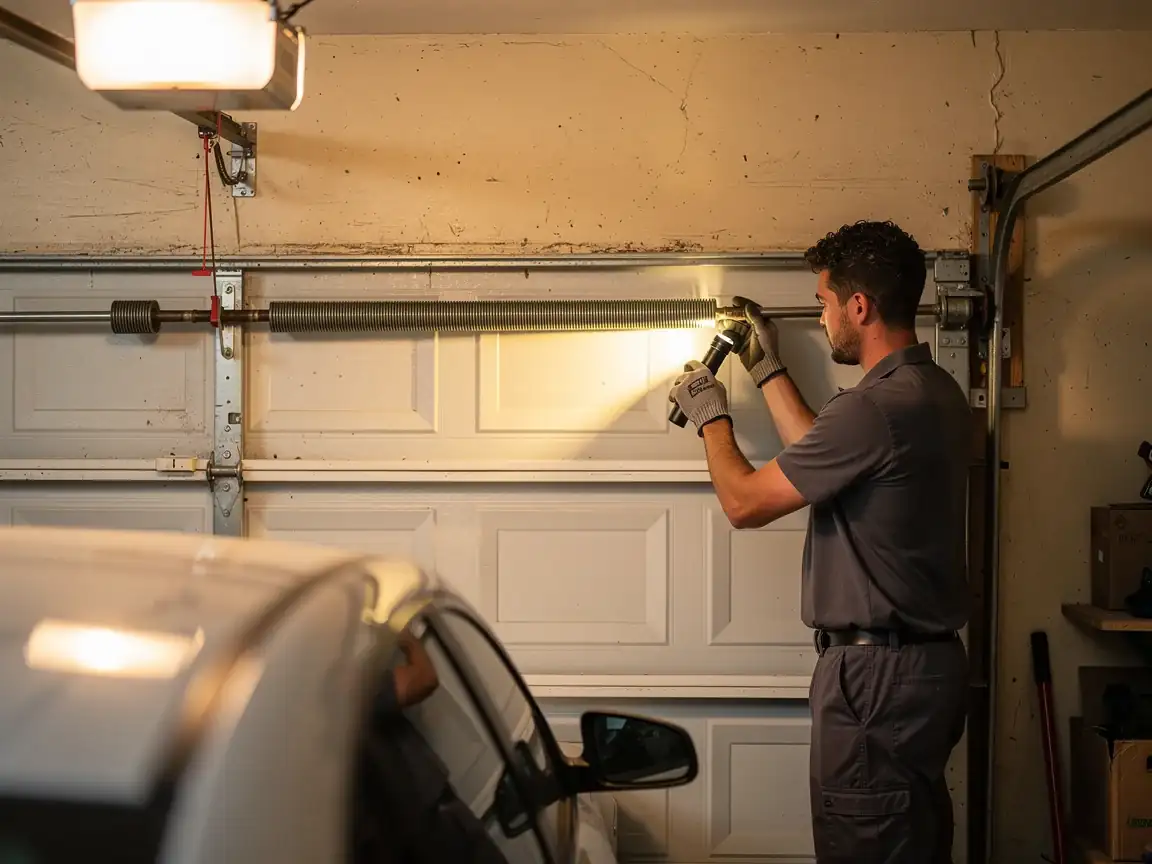
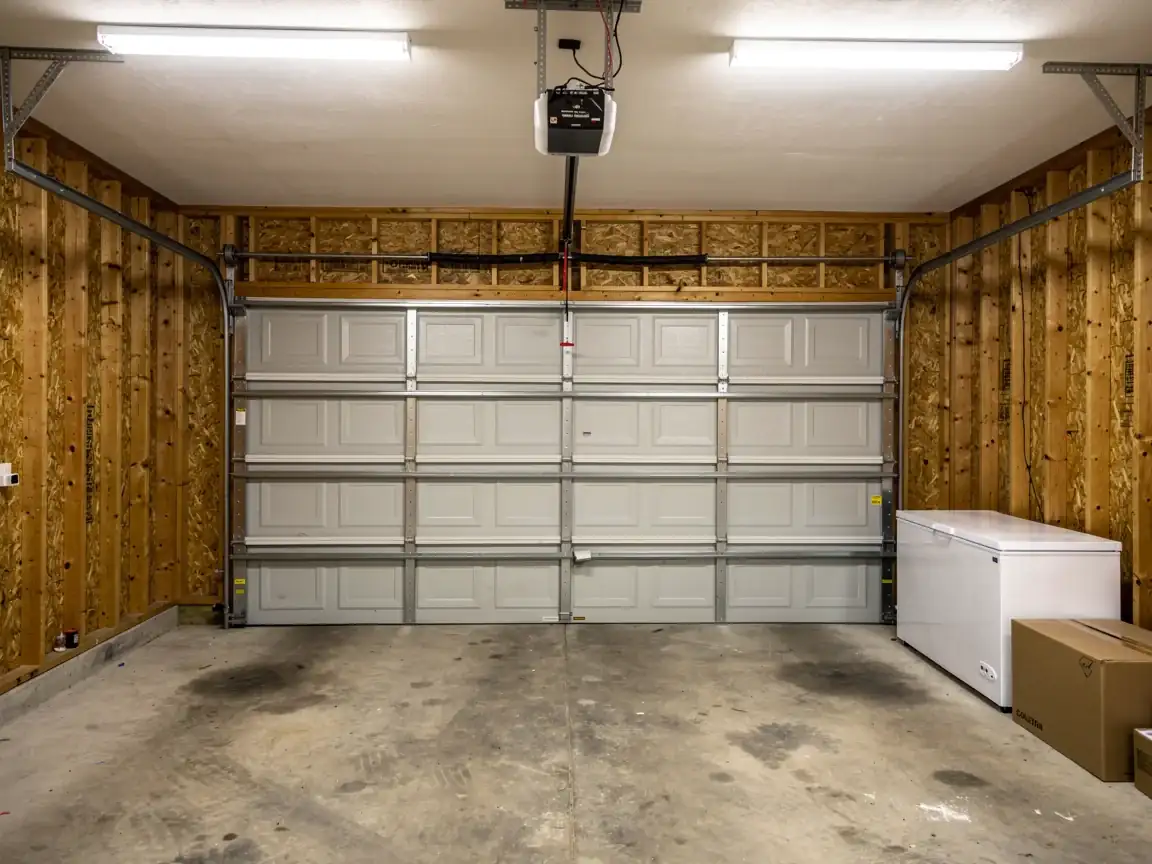
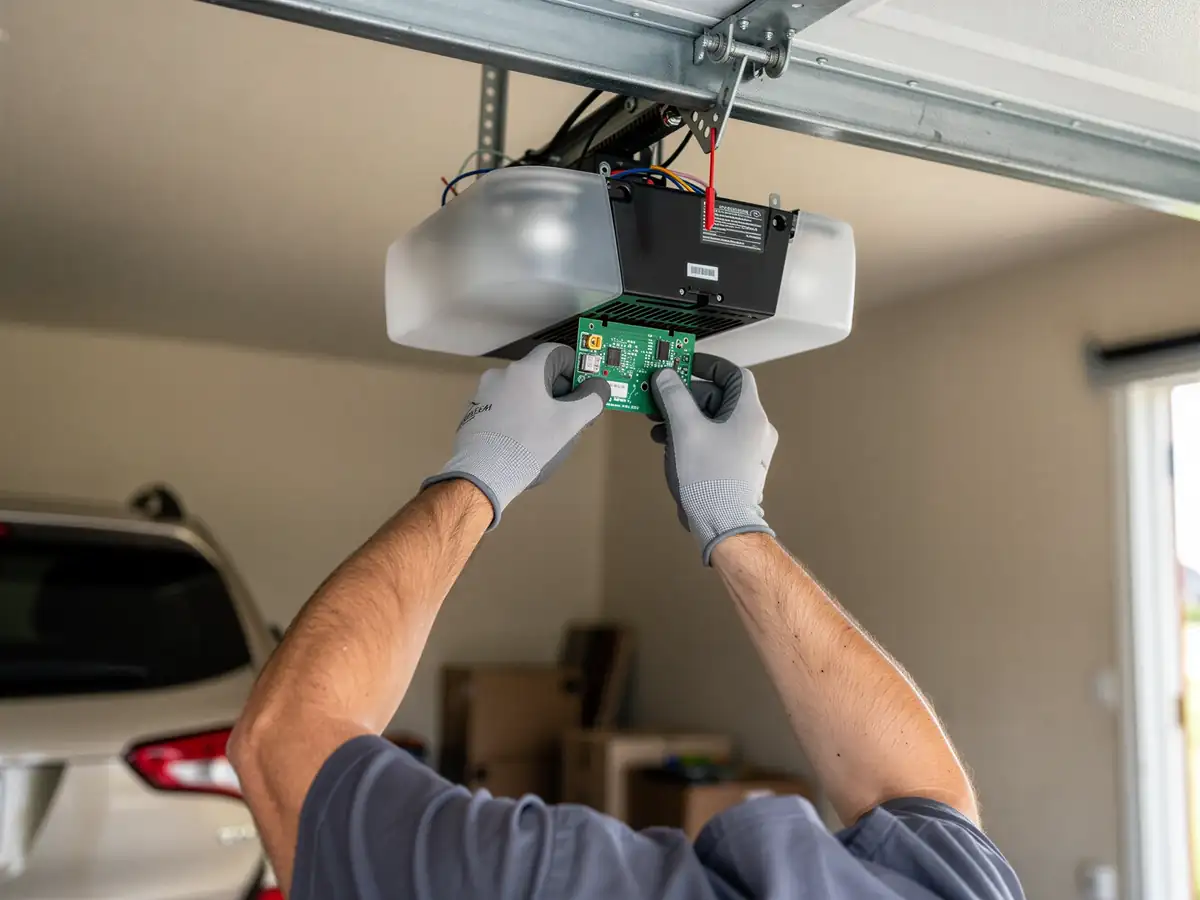
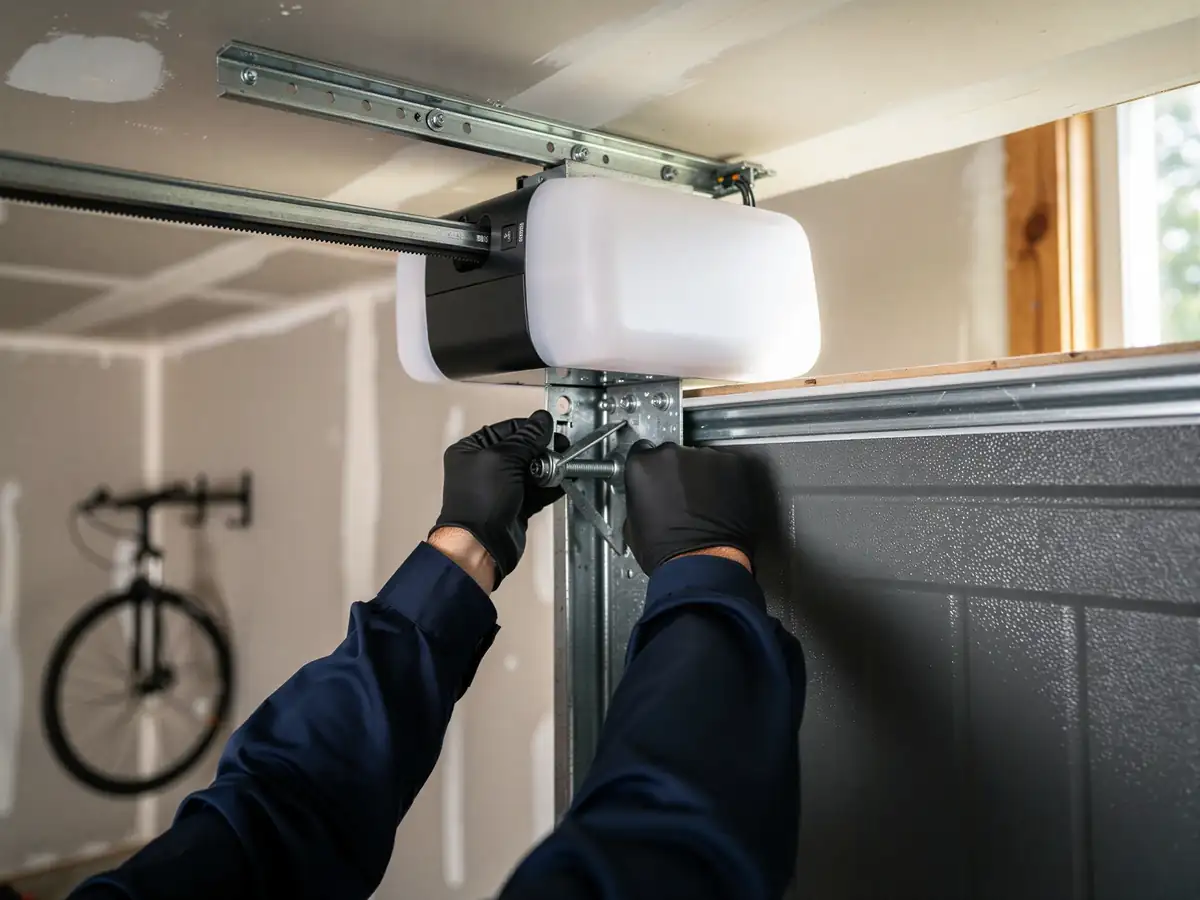
With a sound header bracket, is a straightforward afternoon job. What stretches it out in Pumpkin Center more often than in newer parts of the service area is the bracket and wiring behind the opener, not the opener itself. On a house built in 1980, we're frequently dealing with a header that was shimmed by hand decades ago, wiring that was never run through conduit, and a wall switch wired directly instead of through a safety circuit - all of which has to be brought up to current standard before we hang the new unit, regardless of brand.
Winters here sit in the moderate end of the cold band for this region
But even that is enough to make grease on an old rail gum up and a worn drive gear slip before it finally gives out. If the existing rail and carriage are in good shape, we reuse them. If they're bent, pitted, or sized for a chain-drive and the homeowner's switching to belt, that's additional time on top of the base install, and we'll say so before we start, not after.
The DIY Question
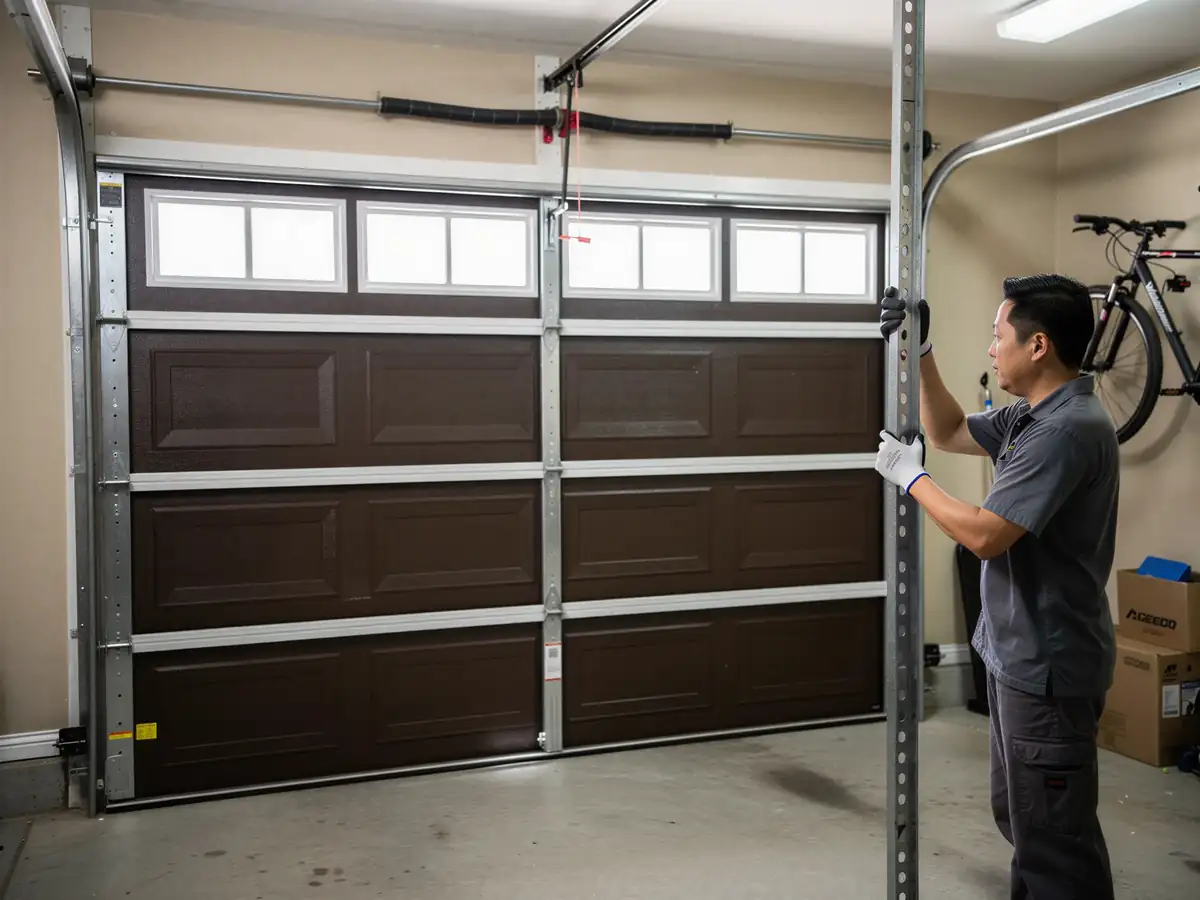
Hanging a new opener on a rail that's already mounted correctly is within reach for a handy homeowner - most kits come with decent instructions for that part. Where it stops being a weekend project is everything behind it: wiring the safety sensor circuit correctly, setting travel limits on a door with original 1980-era hardware that's never been adjusted, and torquing the header bracket into a stud rather than just drywall. Get the sensor wiring wrong and the door either won't close or reverses when it shouldn't, and that's not a cosmetic miss.
Our honest limit here: if your current opener is original to the house and the rail or header bracket is rusted or cracked, we're not going to patch that together to save you money, because it'll fail again within a year or two and we'd rather tell you that up front than quote a repair we don't believe in. For a straight swap on solid existing hardware, DIY is reasonable. For anything tied into the original 1980 header, we'd rather look at it first.