How to Book
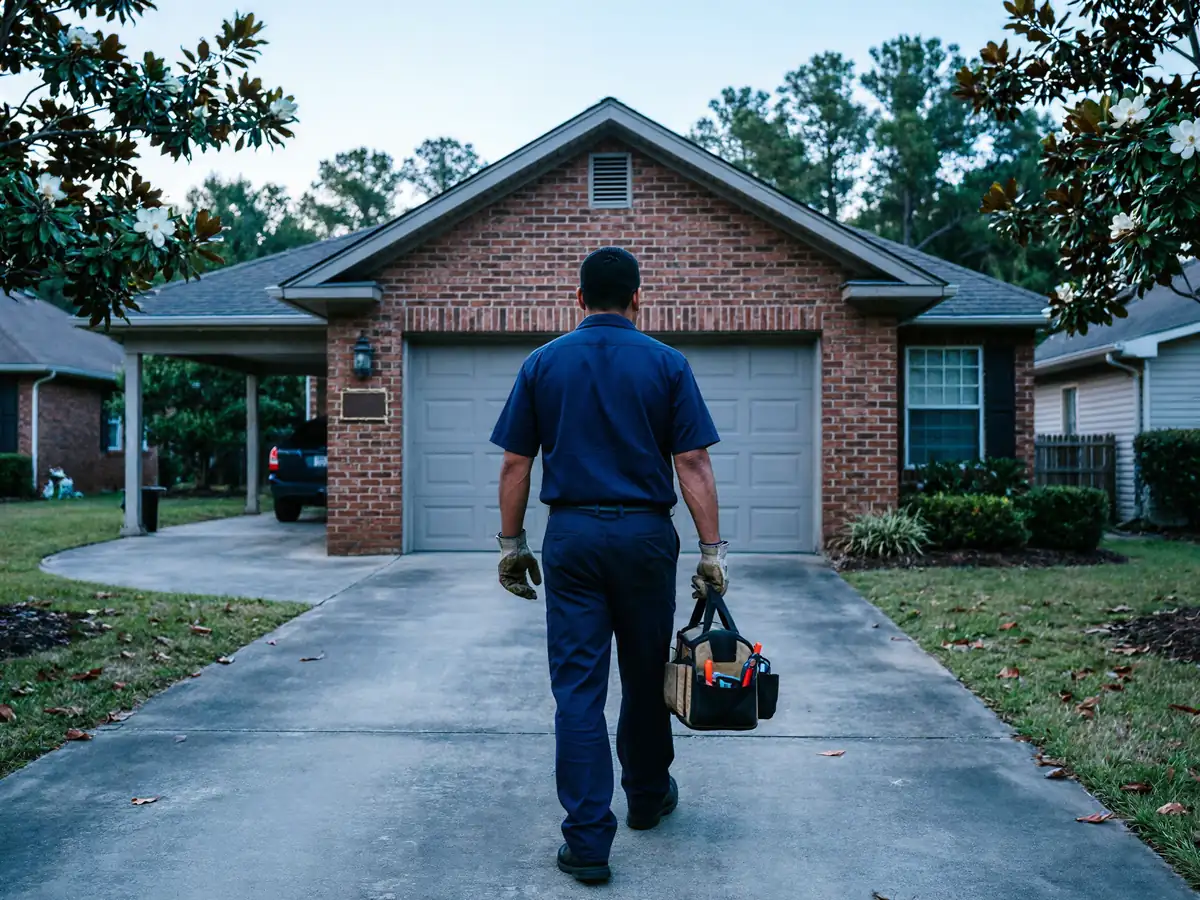
Piney Green sits about 6 miles from our shop in Jacksonville, so scheduling an opener install here means fitting a truck run into the day's route rather than a same-block stop. Call ahead and we'll give you a real window based on the day's schedule, not a guess pulled out of thin air. If what's actually failing is the door itself - a bent track, a cracked panel, a spring that's let go - that's a different job with different parts, and you'll want to start with our Piney Green garage door repair page instead. For the full rundown on opener brands, price tiers, and the install options we run out of Jacksonville, see the Jacksonville opener installation page. This page is narrower on purpose - it's about what changes once you're 6 miles out in Piney Green, not the whole menu.
What Causes It Around Here
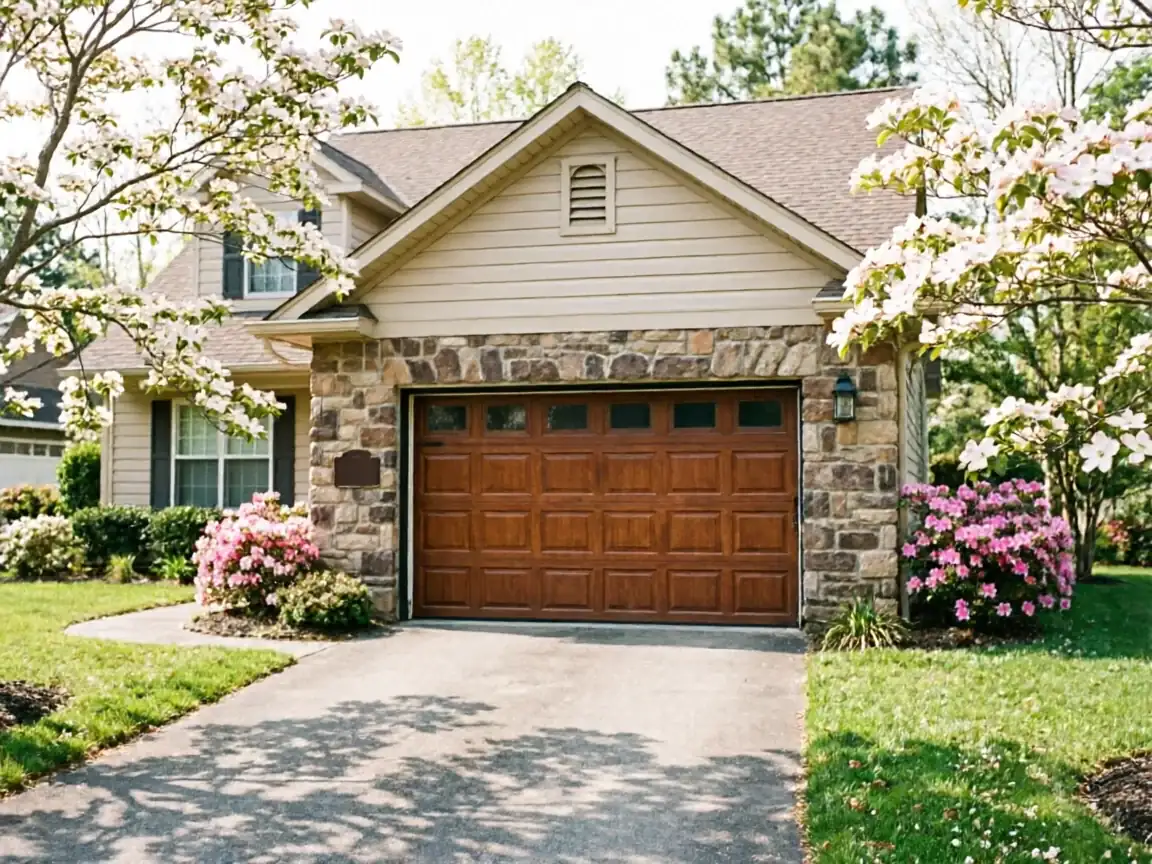
With roughly 5,097 households in Piney Green, most sitting in that same early-90s build window, the same failure pattern tends to show up across several houses in the same season rather than one at a time. The housing stock across this part of the service area runs 1980 through 2013 with a median around 1993, so a lot of openers out here are either original units well past their rated cycle count or first-generation replacements from the 2000s. The region sits in a cold-moderate climate band, and that matters more for openers than people expect - the drive gear, the travel limit switch, and the logic board all see more thermal cycling over a winter than the door panel itself does. Nylon gears get brittle in the cold and start skipping teeth; capacitors on older boards drift out of spec. None of that is unique to any one house, but it's consistent enough across this housing era that when we get a call about a chain-drive unit grinding or a remote that's gone deaf, the cause is usually age and cold cycling working together, not a single bad part.
The DIY Question
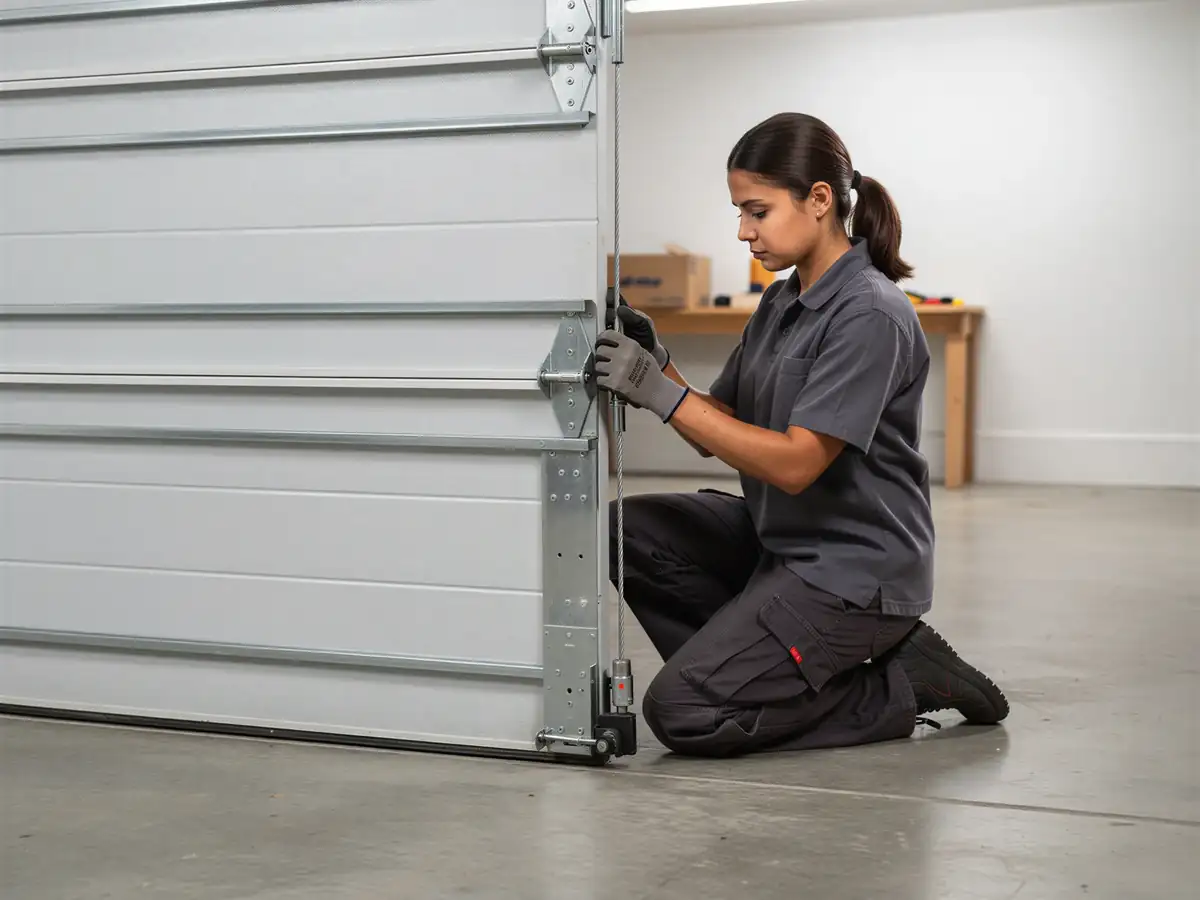
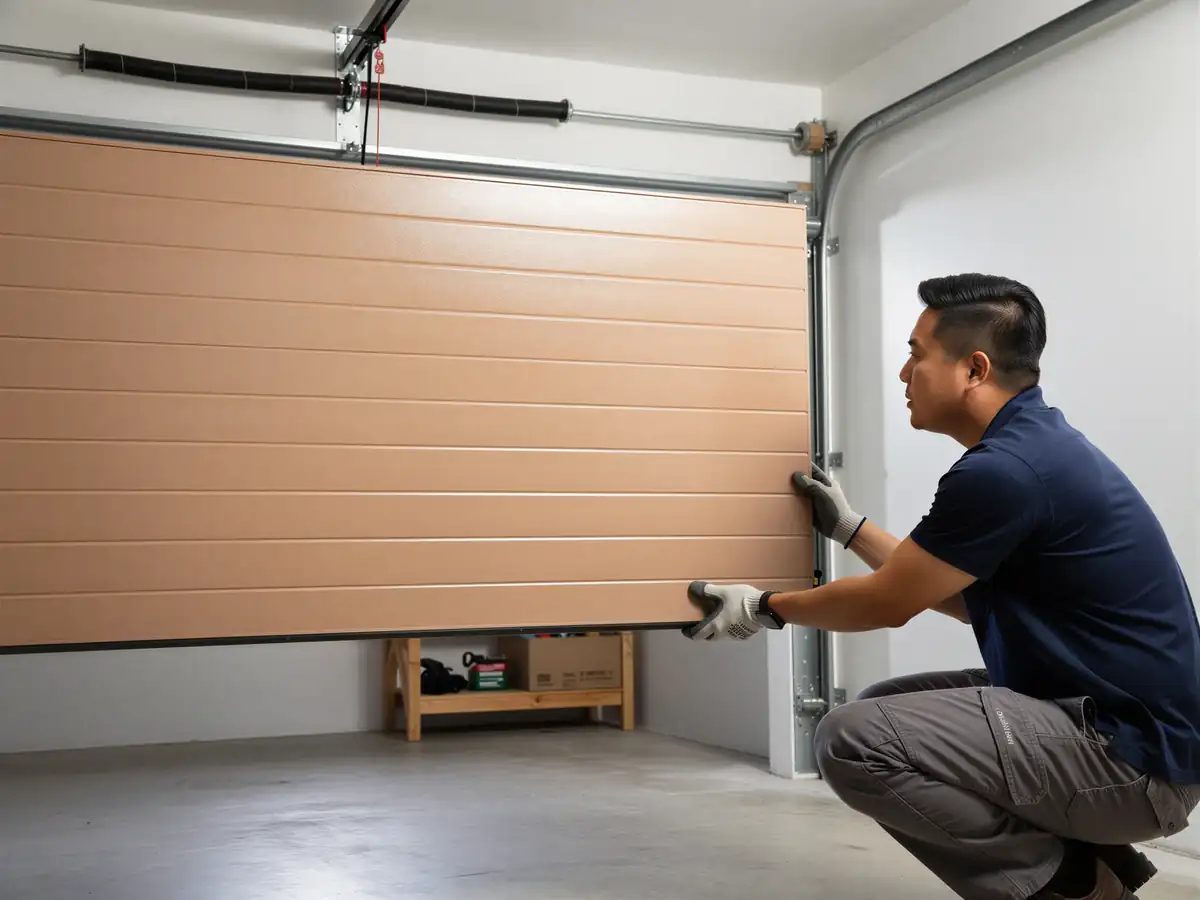
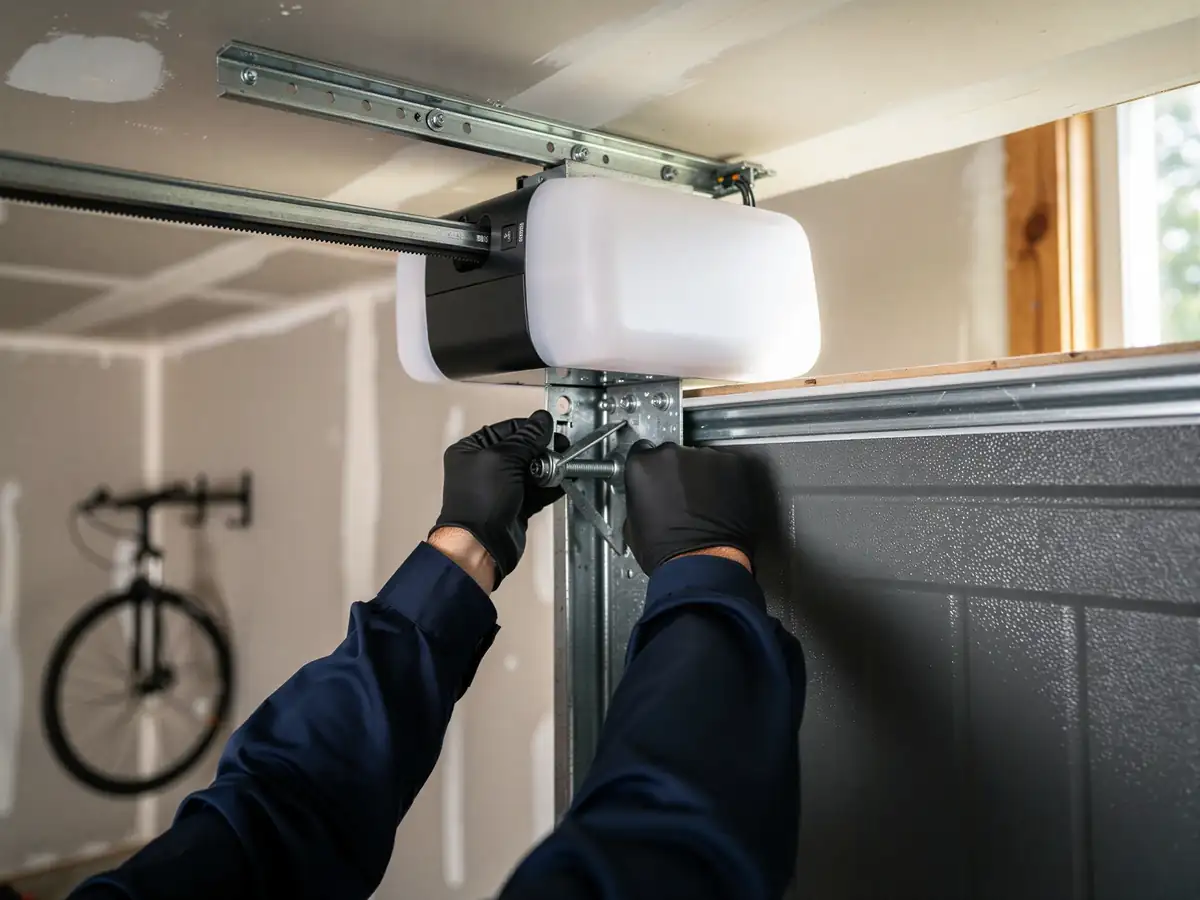
Swapping a remote or re-aiming a safety sensor eye is reasonable to do yourself - no tools beyond a screwdriver, and you can't really hurt anything. Setting travel limits and force settings on a new opener is where most DIY installs go sideways: too much force and the opener keeps driving against a jammed door, wearing the motor and risking a finger or a bumper; too little and it won't close at all in cold weather when the track tightens up slightly. We also won't mount a new opener bracket to drywall or a ceiling joist that isn't rated for the pull - that's a return call waiting to happen, and we'd rather say no up front than fix it twice. If your door is original to a 1990s-era build and the track or springs look tired alongside the opener, replacing just the opener and leaving the rest is sometimes a short-term fix at best - worth saying plainly rather than letting you find out later.
Time on the Job
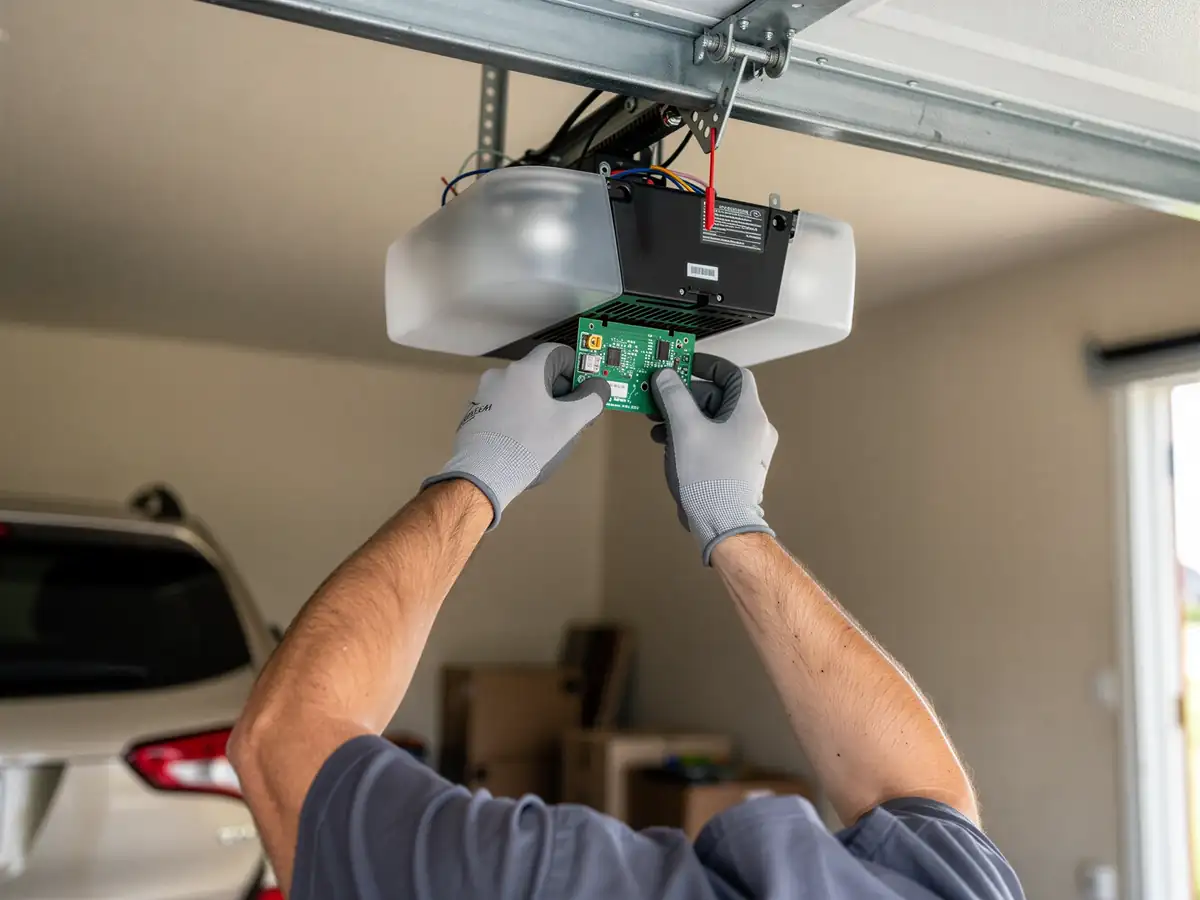
Because the shop run is only 6 miles, we don't pad install time for travel the way we would on longer runs elsewhere in the service area. The install itself, once the truck is on site, generally runs an hour and a half to two and a half hours depending on whether the old bracket and rail can be reused or need replacing, and whether the existing wiring for wall controls and sensors is in a state we can work with or needs re-running. Houses built in that 1993 median window often still have the original wall button wiring, which sometimes needs replacing if it's been chewed by rodents or brittle insulation has cracked. We test travel limits, force settings, and the safety reverse function before we leave, since those are the settings that cause callbacks if they're rushed. We don't commit to a same-day slot on every call - that depends on the day's route - but once we're on site, the job itself doesn't run long.